In Play ‘n’ Practice you’re able to backup the complete database, including sheets and recordings to a zip-file stored on your device (locally or on iCloud Drive for iOS). Backups can be restored in either version of Play ‘n’ Practice on any device type, whether it is the Pro or the free to try version, wether it is on Android or iOS.
You could also use Backup & Restore to transfer your data between devices, if you don’t want to use iCloud Drive, WebDAV or any other device specific network storage by adopting the same process described below.
I suggest to make a backup every now and then, if you are not on iCloud as data could potentially be lost if your device gets broken. Also you should make a backup if you install Play ‘n’ Practice to a second device and provide a synchronization between devices over iCloud. It should normally work without problems as Play ‘n’ Practice asks if it should use existing data from iCloud or overwrite them with the empty local configuration, but you never know what happens, if the device just lost connectivity right before the app was started or if iCloud is in an undefined status, which could happen more often than you think. So make a backup first, before installing Play ‘n’ Practice to a second device.
The backup and restore procedure itself is very simple:
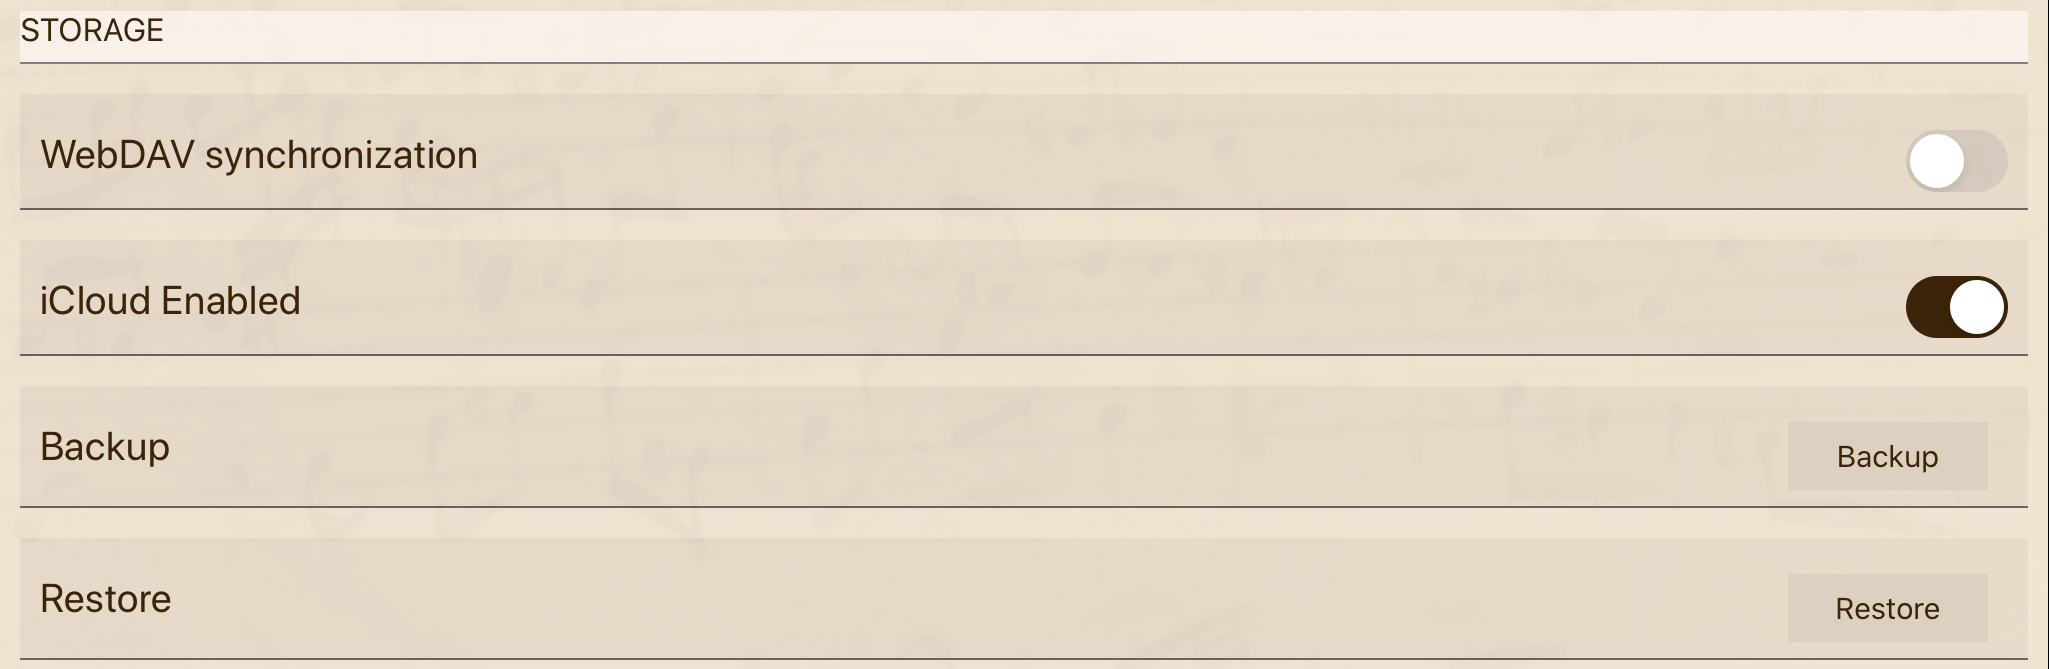
- Go to the Play ‘n’ Practice settings and scroll down to the “Backup & Restore” section.
- Here tap on “Backup” to create a backup, the app shows an activity indicator. Depending on the amount of data, sheets and recordings a backup can take some time.
- Once the archiving process is completed, Play ‘n’ Practice prompts via a standard dialog for a folder to store the backup on. Select the folder according to your preferences. On iOS 13 you can even select a network server (NAS) storage as target for your backups.
- Once the archive storages completed, Play ‘n’ Practice shows an alert dialog to inform you about the successful backup.
The restore procedure is very similar to the backup procedure, but be careful:
Any data, sheets and recordings stored on your device or on iCloud Drive will be overwritten. You may create a backup of your data first, before restoring data from an archive.
- Go to the Play ‘n’ Practice settings and scroll down to the “Backup & Restore” section.
- Here tap on “Restore”, the app shows a system dialog to select the backup file. Backups are normally named “FullBackup_DATETIME.zip”. As they are standard zip compressed archives you can access the with any zip file viewer.
- Select the archive and confirm the selection dialog.
- The app shows an activity indicator. Depending on the amount of data, sheets and recordings, a restore can take some time.
- Once the restore procedure is completed, Play ‘n’ Practice shows an alert dialog to inform you about the successful backup.
Sometimes it may happen, that a background process of Play ‘n’ Practice still is trying to write to the old database, which was closed during the restore procedure. In this case the app may crash after the restore operation. Just restart it to continue. This has no effect to your data, unfortunately it is not possible to terminate an app intentionally in iOS, as restart after a restore would be the safest option anyway.
No responses yet